Woodworkers widely choose epoxy resin as their preferred material for their projects. The material bestows wood surfaces with a powerful glossy shield that creates a glass-like appearance while safeguarding the underlying wood material. The Bond Craftor Epoxy Resin serves woodworkers as an excellent solution to attain polished and long-lasting surfaces. The proper skills used in woodworking enable producers to create tables, countertops, and decorative items with optimal outcomes. These guidelines will help you achieve a smooth finish using craft resin epoxy with wood.
Preparing the Wood Surface
You must clean and dry the wood surface before starting with epoxy resin application. Dust, dirt, and any oil residue will result in an uneven resin coating. A smooth base emerges from the wood after using fine-grit sandpaper for sanding. Applying wood filler and thin resin layers inside cracks will ensure an evenly smooth wood surface. A thin epoxy resin coating of the wood helps achieve better results before finishing the final pour. The material structure of wood permits it to soak up resin, which creates bubbles. Applying a seal coat becomes essential because it establishes a smooth protective layer. After the drying period of the seal coat, the last resin layer can be added.
Mixing the Epoxy Resin Properly
Proper mixing of epoxy resin materials yields the most optimal final results. The manufacturer provides easy-to-follow directions about the appropriate combination of resin and hardener. The exact measurement of materials is vital for adequately curing the mixture. Proper and slow mixing of the resin will eliminate bubble formation. The fast stirring of epoxy resin results in bubbles, creating small pockets that appear in the resin. You need to use a flat mixing stick to correct blending and scrape the entire container interior. A brief waiting period for mixed resin will aid in removing air bubbles from it.
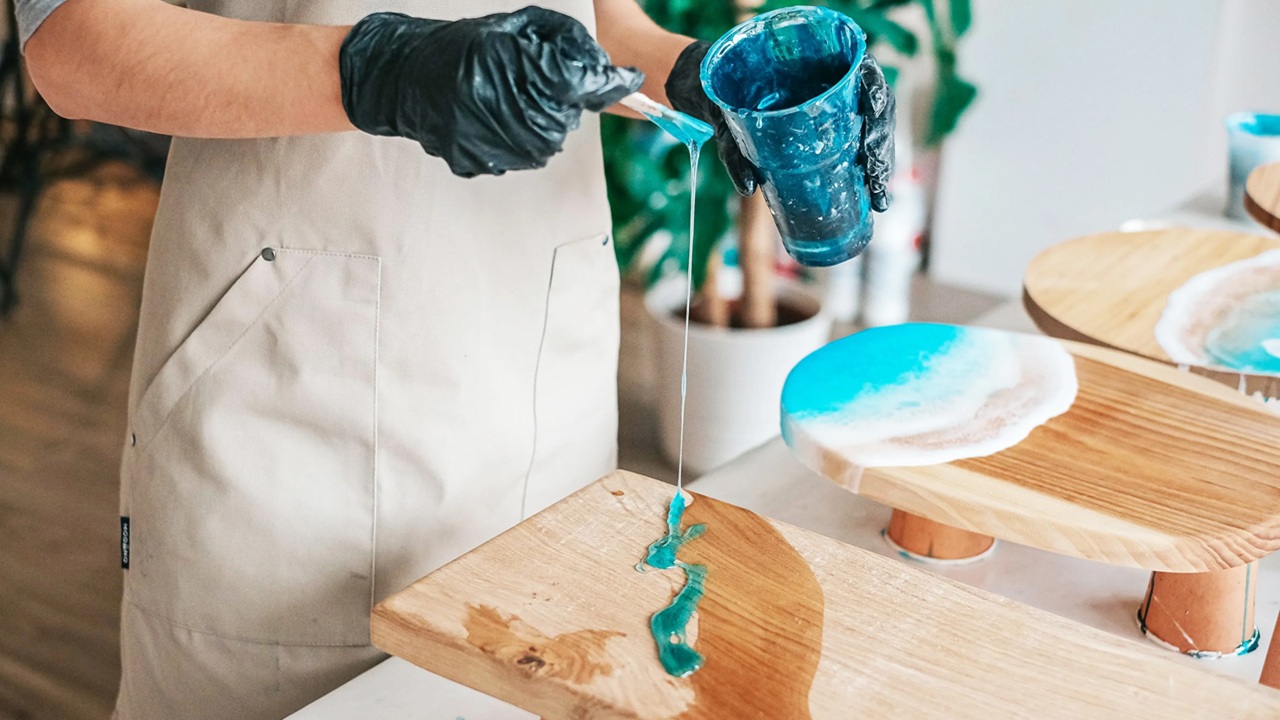
Pouring the Resin Evenly
You should gently pour epoxy resin onto the wood while maintaining even distribution. Maintaining a continuous thin liquid flow during pouring will prevent air from becoming trapped inside the mixture. Full resin coverage on the surface becomes possible when you use a spreader or brush to distribute it. Dividing large table projects into multiple sections when pouring resin prevents the curing process from becoming uneven. You can apply more layers only after the first layer becomes dry. Applying the following layers requires a gentle sanding process to strengthen their attachment.
Removing Air Bubbles
The mixing process and proper pouring techniques do not permanently eliminate every bubble from the resin mixture. Essential solutions exist for their removal. The surface can be treated to pop bubbles by applying a heat gun or torch while using gentle flame movement. When working with the flame, keep it from the resin surface and avoid maintaining direct contact for extended periods. This will prevent any damage to the resin material. Applying a hairdryer with low heat can substitute for a missing heat gun or torch for bubble removal purposes. A tiny mist of rubbing alcohol applied to the surface is an alternative to break bubbles.
Allowing Proper Curing Time
Epoxy resin takes a specific period to achieve a complete cure. The result includes sticky and uneven areas when you speed up hardening time. The preferred method is to leave the project in a clean environment free from dust until completion. A plastic sheet used to wrap the piece will protect it from dust and debris accumulation on the surface. Temperature and humidity directly influence the curing process of resin. Working in environmental conditions that are both dry and warm leads to proper resin hardening. The project requires placement in a heated room or under a small space heater to remedy cold conditions.
Sanding and Polishing for a Smooth Finish
When resin is fully cured, it becomes possible to fine-sand the surface until it attains professional smoothness. Surface imperfections must be eliminated using sandpapers of progressively increasing grit from acceptable to coarse types. Surface scratches cannot form in sanding operations because using water keeps the smoothness of the material intact. A polishing compound and soft cloth give the surface a high shine after resin sanding. A buffing machine is an excellent tool to achieve additional surface glossiness. The last stage improves epoxy aesthetics while producing a sophisticated and upscale finish for the wood.
Conclusion
Bond Craftor Epoxy Resin easily achieves the strong gloss appearance needed to finish woodworking projects. Woodworkers who follow the correct procedure will obtain attractive and smooth results in their work. All steps, from wood preparation to resin mixing and pouring with careful precision, bubble removal, and adequate curing time, lead to an ideal resin finish. Following detailed steps will transform common wood material into beautiful artwork through epoxy resin applications.